
As you might have seen, I have recently started to venture into the frozen city of Felstad, playing Frostgrave with my good, old pal M. The board we play on, belongs to M and therefore I only can come up with good suggestions of what might look cool on the board.
A few weeks ago, M the great idea of using an LED-Tea Candle to build a glowing mystical crystal, as you can see here:

He then told me in depth, how long it would take to do something like that and I picked up the challenge.

Materials:
- LED tea candle from the Dollar Store (I bought mine at TEDI)- Hot Glue Gun
- toothpick
- sandpaper
- air hardening putty ( I used Apoxy sculpt)
- sculpting tools
- Spray cans: Black primer (GW: Chaos Black), Grey (Armypainter: Uniform Grey ), White (GW: Skull White)
- Acryl paints and a green wash

Step 1: Preparing the Candles
Firstly we need to roughen up the surface of the almost greasy surface of the candles. This way, we provide a surface on which the putty will stick and stay in place.To achieve this, I used rough sandpaper, which I scratched along all the surfaces.

Step 2: Stone Structure
There a probably as many different ways to get stone structure on the candles as there are stones. You could use cardboard, cut single stones and glue them in place (as M did with his terrain piece). You could use thin styrodur, cut single stones and glue them to the candle... but I wanted it to be quick and cutting single stones is the opposite of quick. at least in my book.Therefore I settled with Apoxy Sculpt.
Mainly because I come in big quantities, carries detail pretty well and, maybe most importantly, I am used to work with it.
But you can use probably any air hardening putty for the next steps.

After the whole candle is covered I use the sculpting tool to smooth the surface and erase all fingerprints. You don't have to make it perfectly smooth. I actually made dents and nicks on purpose into the surface. But you could also use other techniques to give the stones a rougher surface (i. alu-foil-ball).


Step 3 Paint
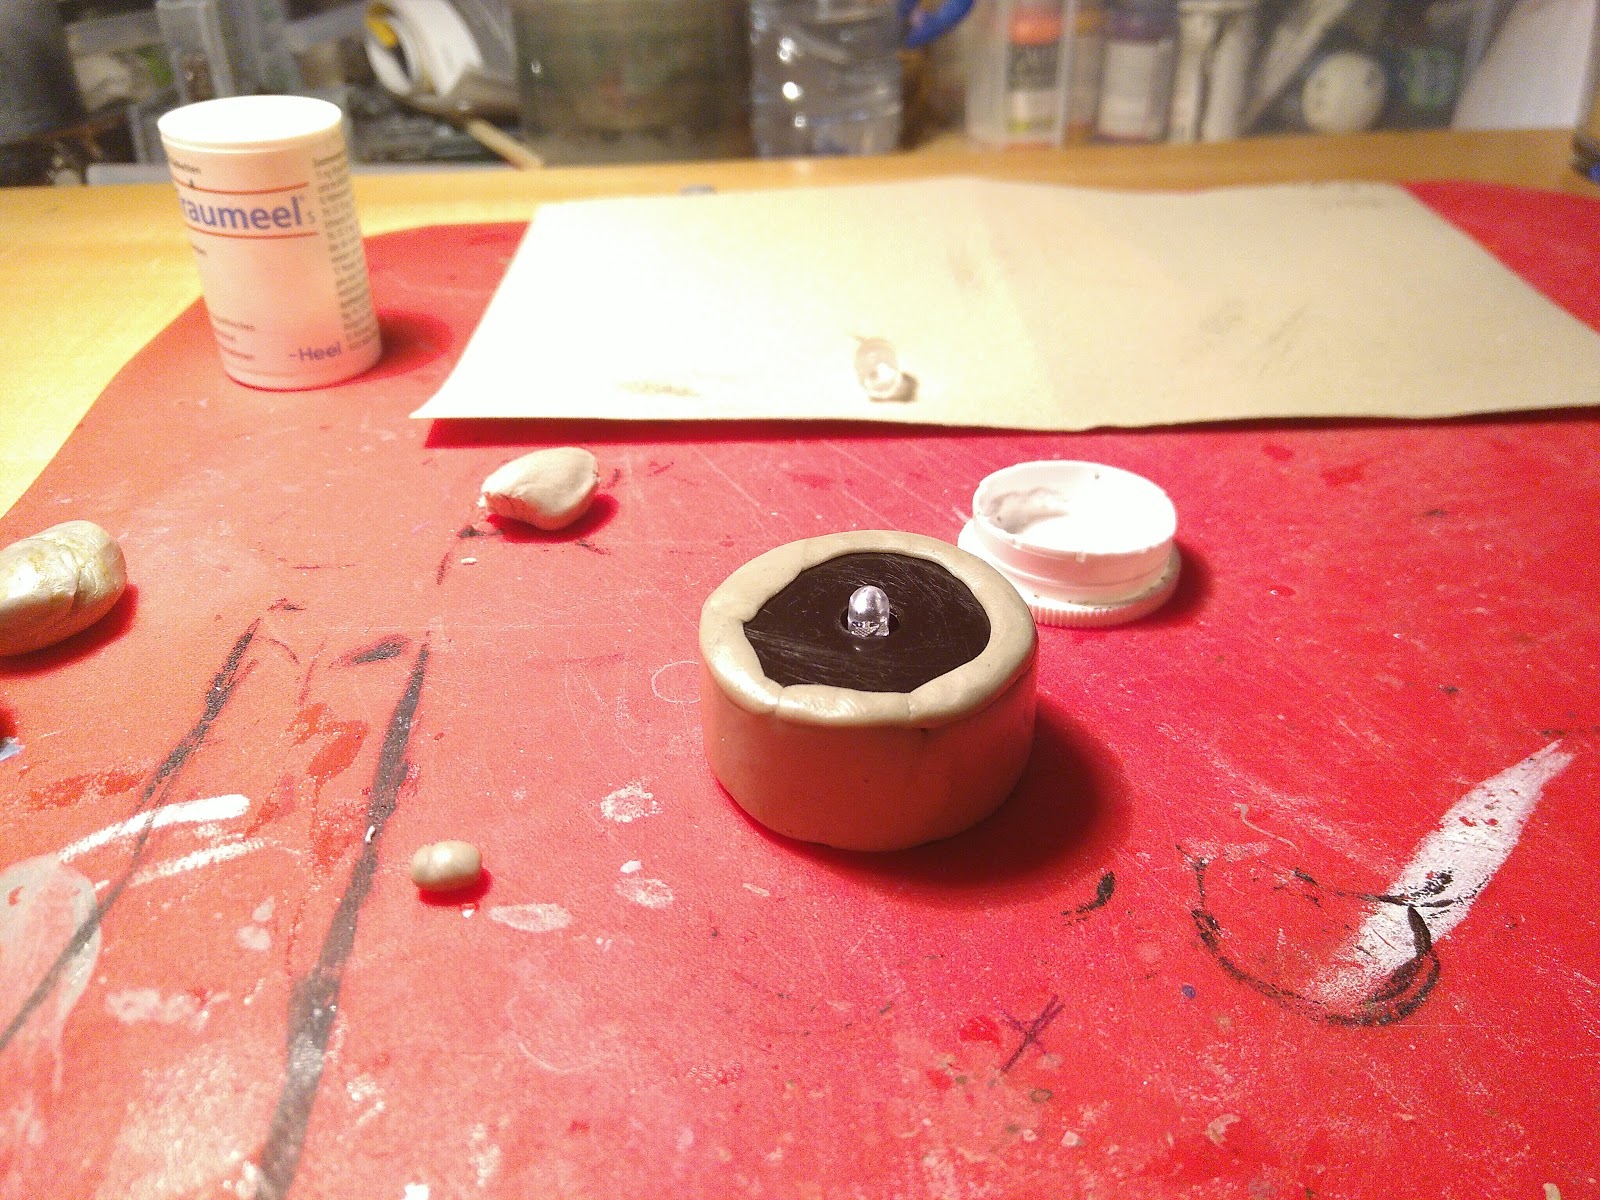
To prepare the candle, I used some tape to mask the LED.


I could have stopped there, but I felt the stones where a bit too... grey... and could use some earth tones. You could use some pre-fab wash for that... or mix your own. I mixed a large drop of Vallejos Dried Rust, with a small drop of grey, some acrylic medium and a good load of water and covered everything in the mix.


And by everything, I mean EVERYTHING. I am grumpy at myself, since I didn't cover the LED in green wash as well. Now, I have a yellow LED... so... learn from my mistakes!


Step 5 FIRE!
Here comes the fun and tricky part. But first, put the LED cover back in place.

When the right temperature was reached, I used the toothpick (or a nail or a sculpting tool), to carefully dip into the hot glue and then pull some of it upwards (or downwards, depending on which way you hold the your pit in that moment).
It is a good idea to work on multiple fire pits at the same time, since you can work on the next, while the first one is cooling.
That comes in handy, since I made several layers to build up a large flame.

Step 6 Finishing touches
Finally, I use the green wash again to color the hot glue flames. I again, hold the pit up side down and pull the wash towards the flames tip. This way the tips will get darker, which sort of mimics a flame quite nicely.

DONE!

The fire pits are ready for action!
All in all it took me around 2 hours (without curing and drying time) to get the pits done.
I hope you found this helpful!
Stay tuned to see the fire pits in action!
No comments:
Post a Comment