Greetings, everybody!
As some of you might be aware of, last weekend was the SPIEL in Essen, Germany.
A large tradeshow, where everything that carries "game" in its name (except for electronically games) is displayed: Board Games, LARP Games, Card Games and of cause Tabletop Games.
I don't want to start discussing the Fair itself, but I am visiting that event for several years now, always with the focus on the Tabletop part. The business has changed a lot in the last couple of years. While back then the reason to go to the fair was to see new stuff, today you see this new stuff on the web before hand. Nowadays I go to the fair for two reasons:
1. See products in real life. IE: Warzone by Prodos Games looked ok-ish on the web. I highly doubted that the miniatures would be of acceptable quality. Seeing them up close taught me wrong.
2. Find new stuff. While the interwebs are so wast, small companies sometimes slip through the net or never get noticed at all. To find at least one of them is a personal mission I am undertaking every year.
This year I found:
http://laughingjack.de (still in progress)
So let the review begin!
The Company
Support your local traders is in times of globalisation sometimes hard to do. Especially in the tabletop business, unless you live in Nottingham.
Therefore Laughing Jack gets a bonus point for being almost right around the corner from my place.
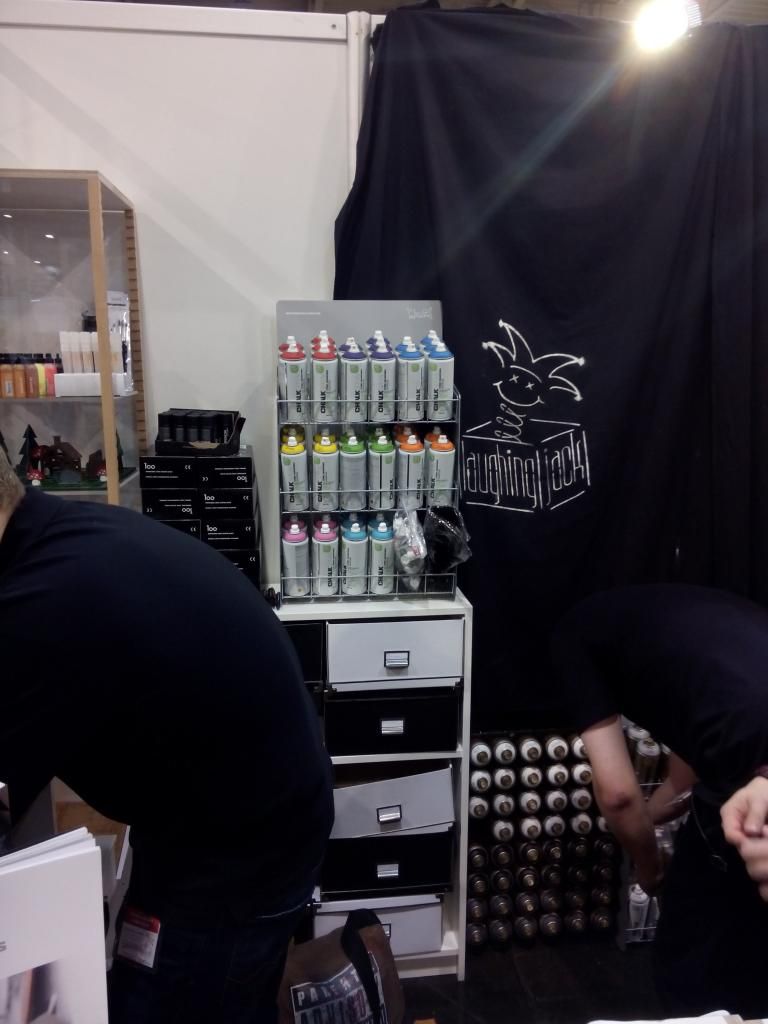
Another bonus point is giving for the fact, that this little company is seriously exploring the possibilities of spray cans for scenery painting. And they use the same brand as I do. +1
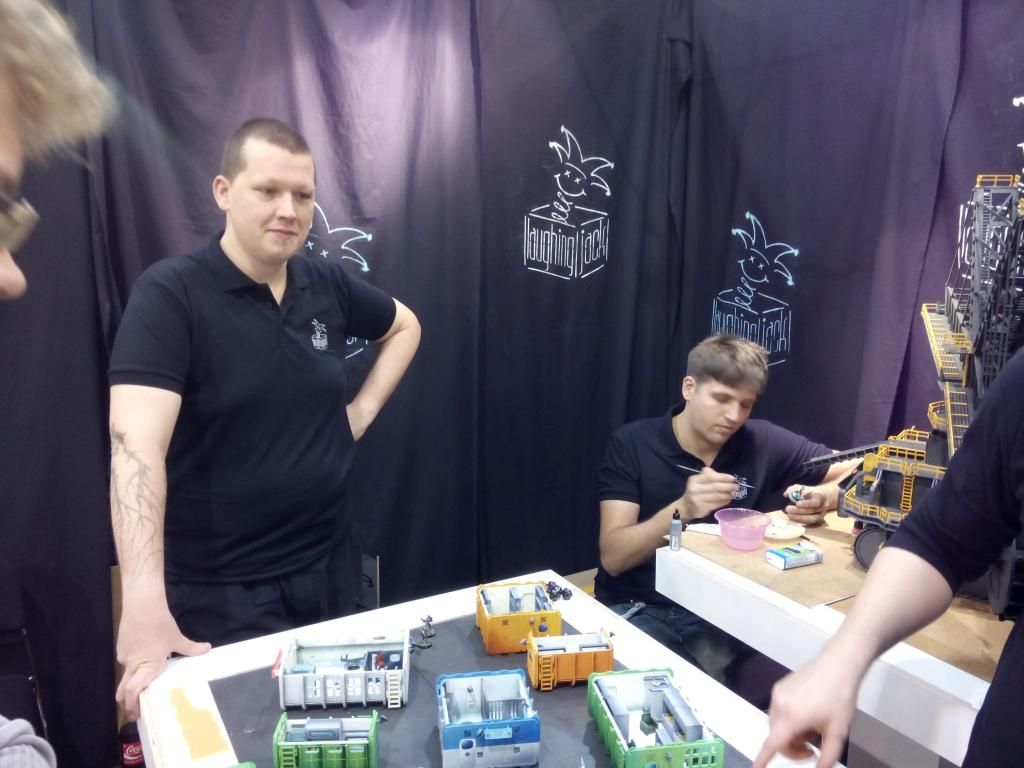
But most important part are the people. Compared to other exhibitors, the quota of heads working there in relation to the size of their display area already shows how passionate these guys are about their product.
don't want to bore you with details, but these guys are really into their stuff. I could have spend hours listening to them explaining their design decisions, what evolutionary steps their products have made (which they illustrated with prototypes) and how they want to expand their product line. Especially impressive was the view into the future, since they were footing on their current designs. So, I know now, that I can upgrade the buildings I bought now in the future with more stuff. Great perspective (aside from my wallet... she is crying)!
Conclusion:
Awesome, passionate people from the local area, that enable you to do custom laser work on their terrain. What do you want more?
The Product/ First impression:
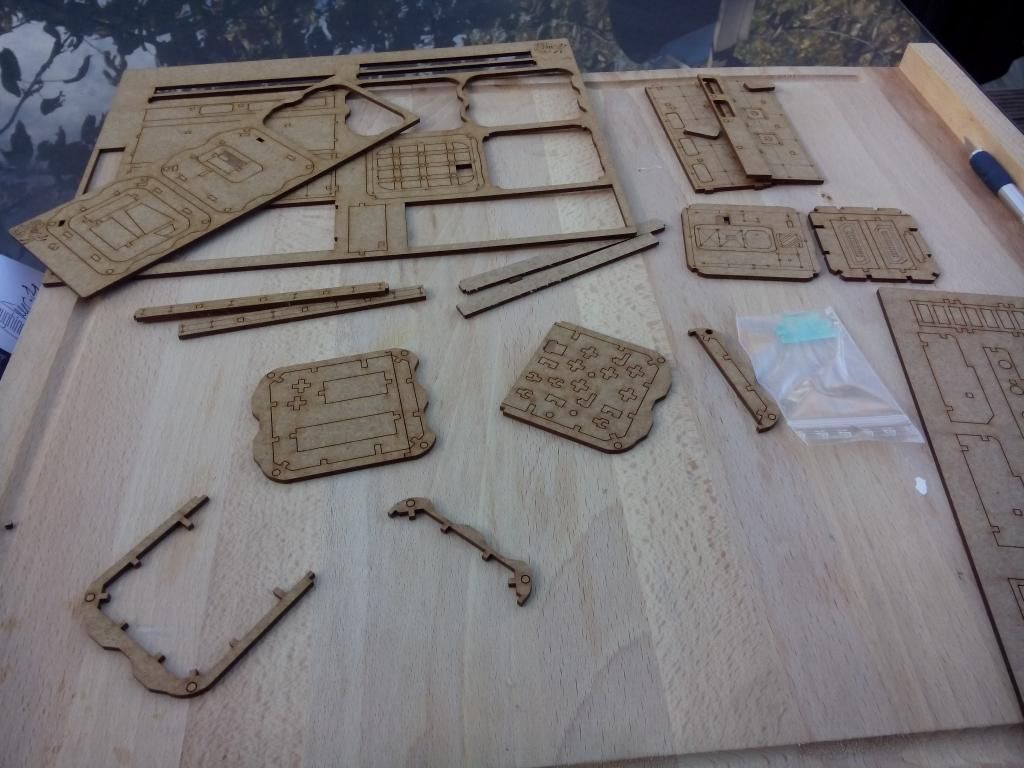
The product I will be reviewing is the Living Unit small (kindly sponsored by Laughing Jack). As you can see the 2,5mm MDF sheets come in a nice plastic bag. Compared to other ways of packaging, the bag has the big advantage, the loose pieces that fall out, will not disappear in the carper. That might sound like a little thing, but when I unpacked another kit recently (packed in shrink foil) I experienced a quite close contact with my floor, searching for all the missing pieces.
Infinity, the declared target use for Laughing Jacks Terrain, brings lots of different tastes when it comes to terrain. For most of the people, it is important that the buildings are intact and not skull-encrusted. From there on the taste differs quite a lot. From the steamy dschungle terrain on paradiso to the ultra clean cities on Neo Terra (where you can eat from the walkway) the Infinty universe offers a buck load of different settings.
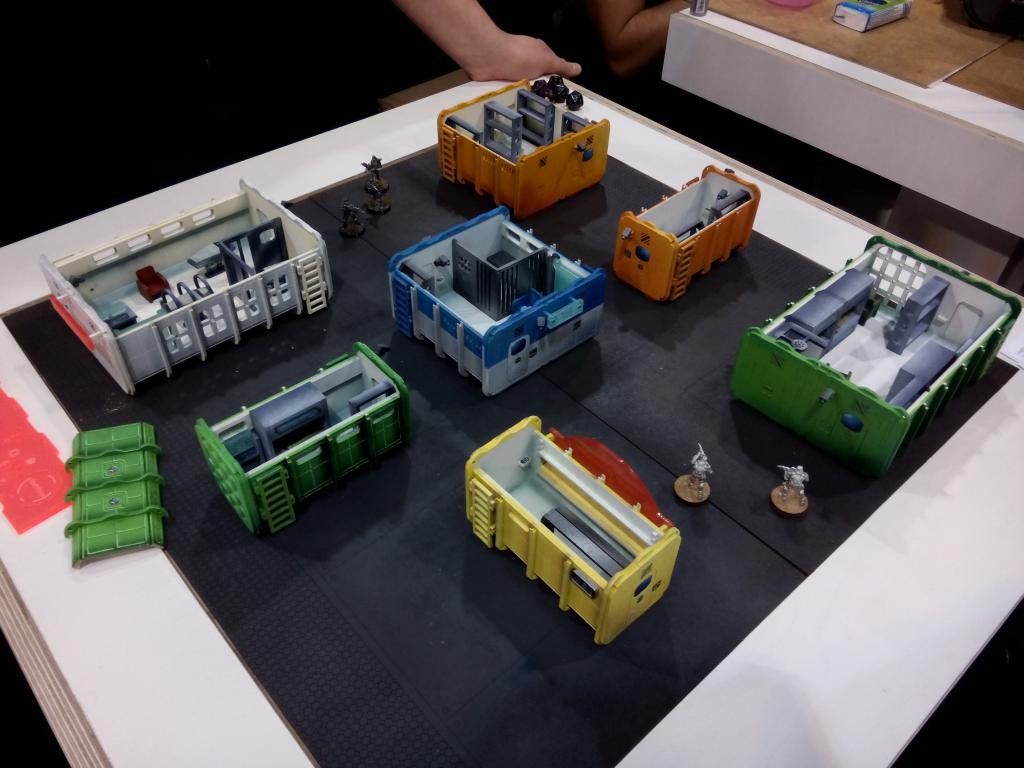
The containers from Laughing Jacks make you think of pre-fab housings, that are simply dropped into place.
I really like the rusty and rather dirty impression these containers leave on my retina. And they will work perfectly on my Silas Ark Table.
I can also hear some of the voices that have declared my table "too dirty" for Infinity mouthing doubts, if these containers fit, but I happily point them into the direction of the painted pieces and I guess we all can agree on: The DO!
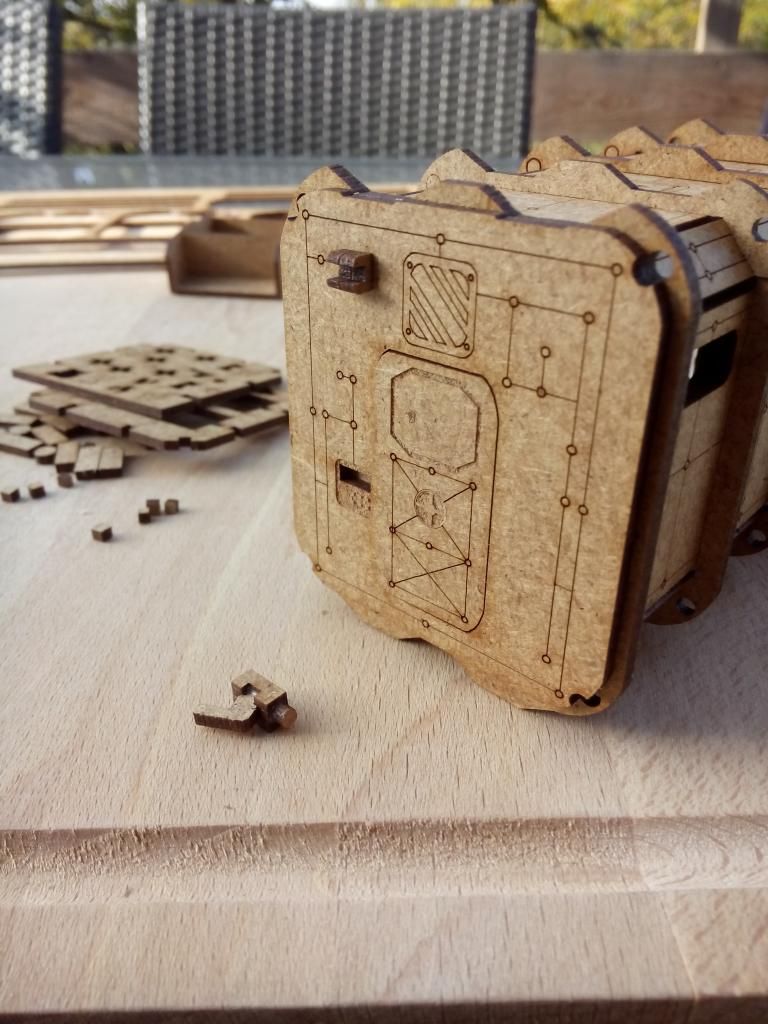
Especially with all the small details they already come with, they add lots of flair to the skirmish atmosphere Infinity provides (look at the door opening computer pieces and the CCTV later on)
Conclusion:
Being still boxed, the container whispers promising things and the impression the painted containers at the fair left was simple: not how much, but how many !
Assembly:
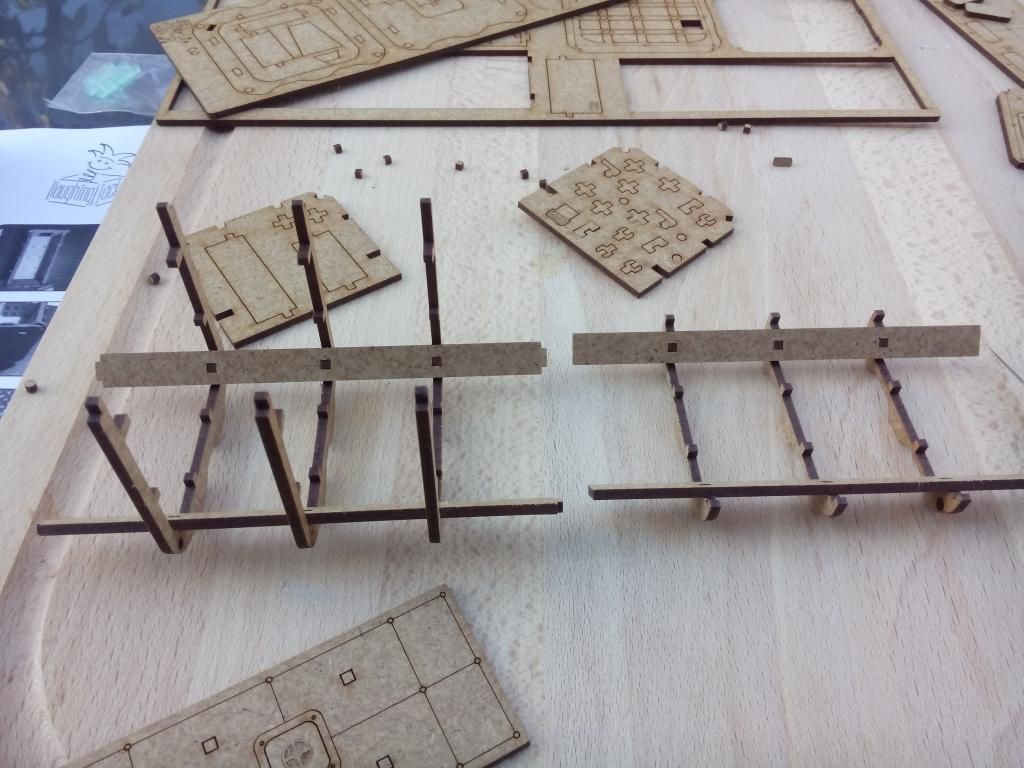
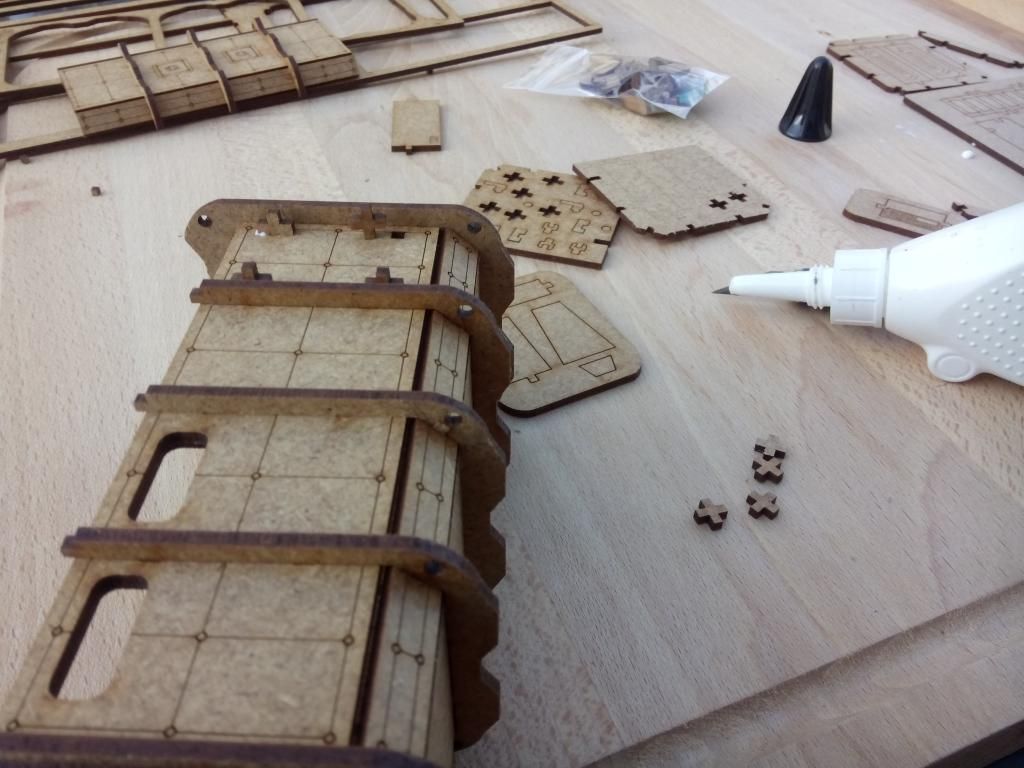
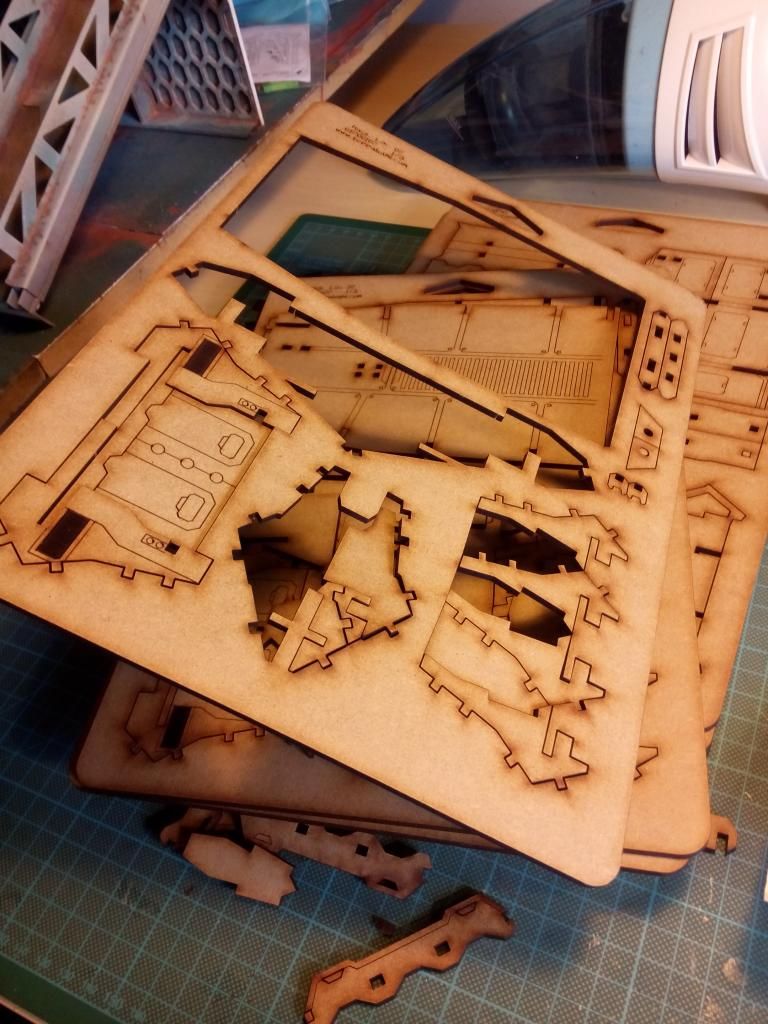
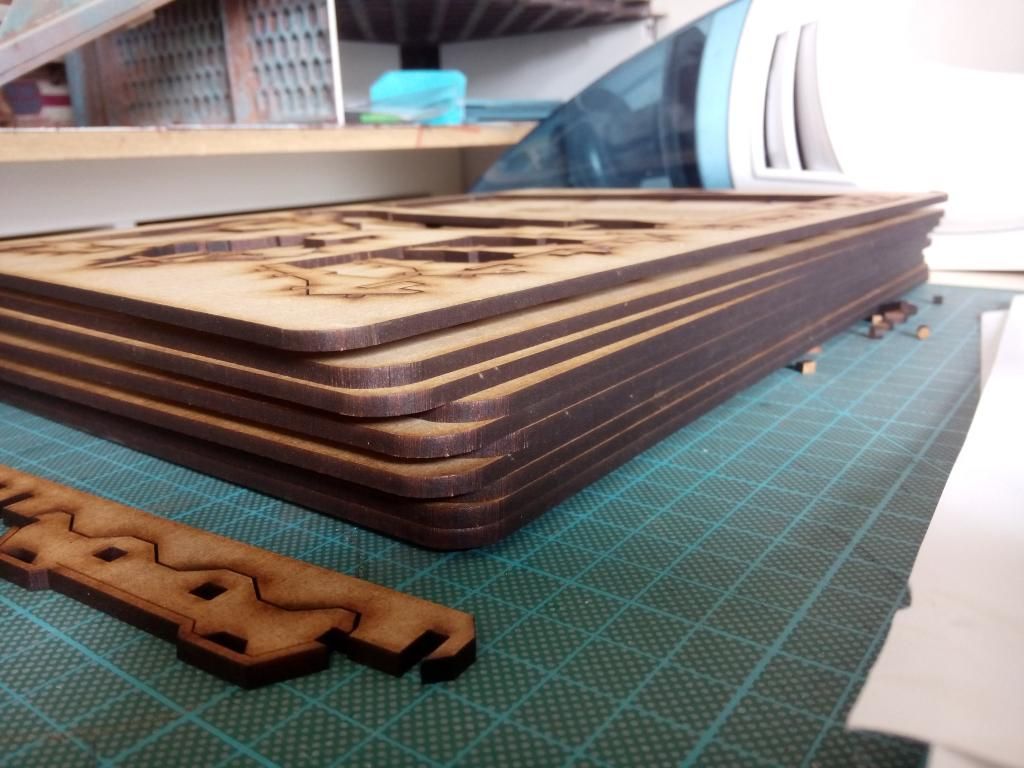
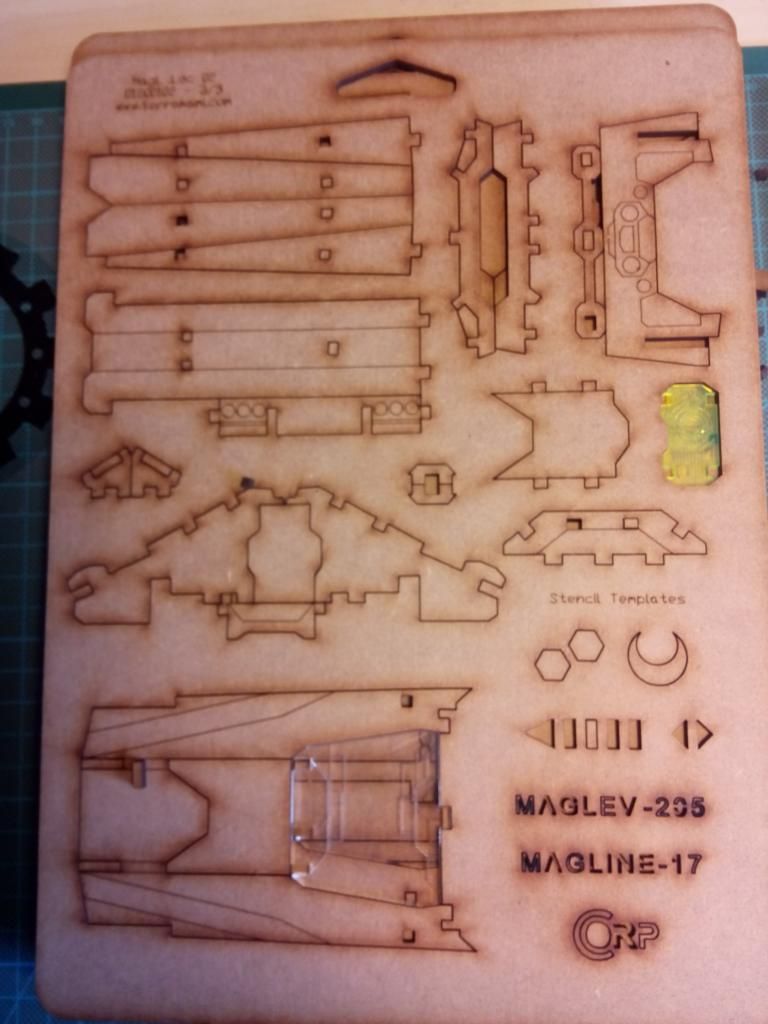
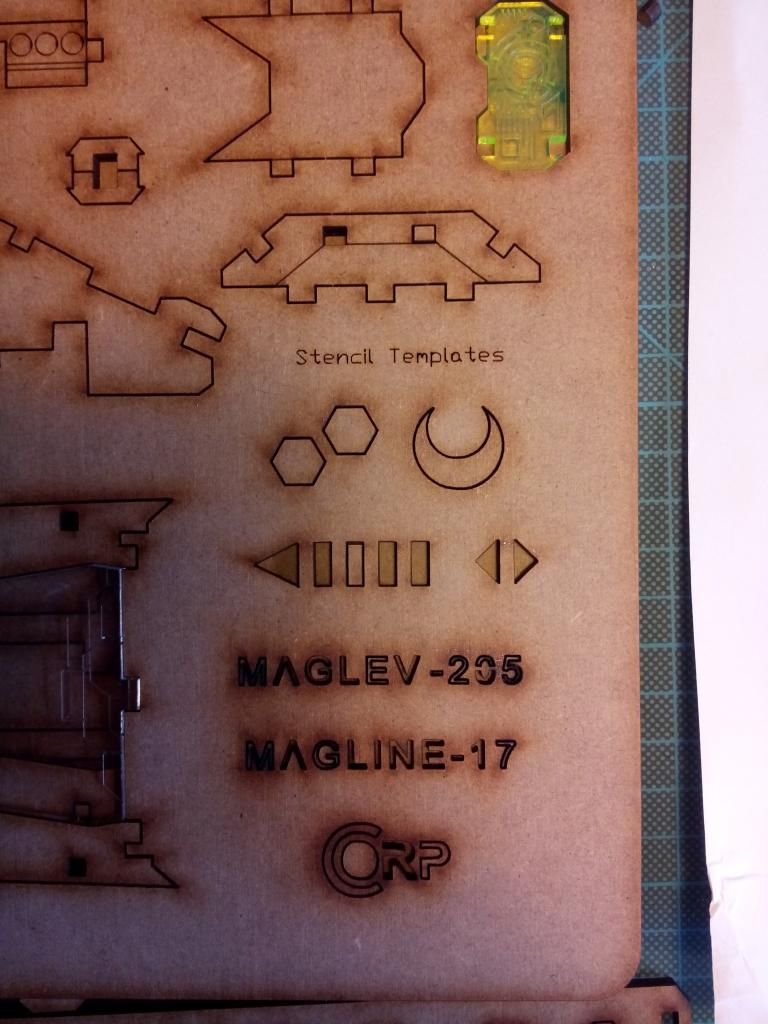
Let the fun begin! I had already high hopes, since some pieces simply fell out of their frames. Most of the pieces that still stuck were ejected from the frame with little pressure, but some pieces where really hard to get out. That resulted in almost breaking some of them, since they were really small and thin.
 |
| Lots of pieces :D |
|
|
|
|
|
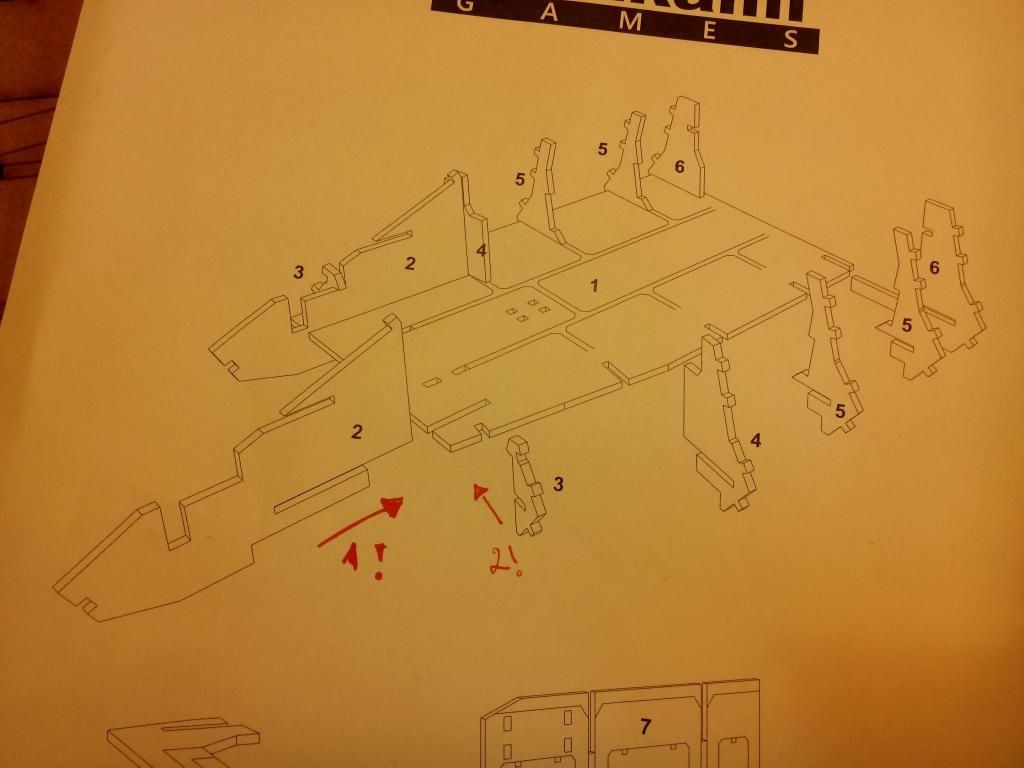
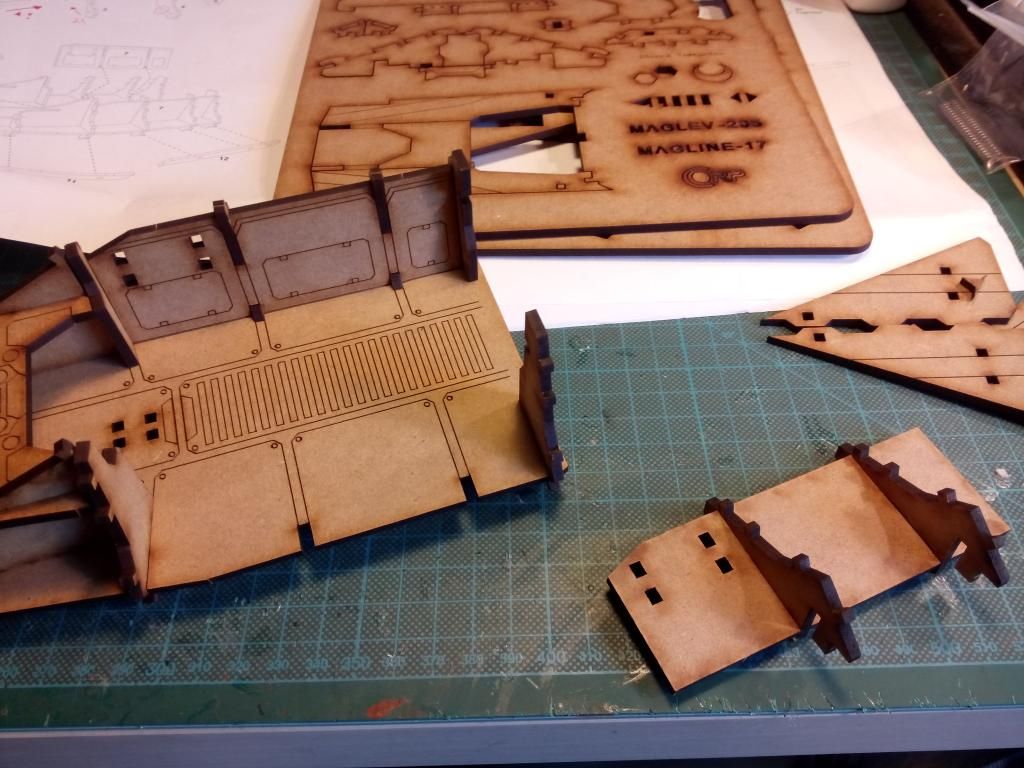
With step one, it became evident, that you defiantly need
glue to keep everything in place. At first I was a little irritated by that, but looking at the most fragile pieces of MDF I have encountered so far, it really makes sense that you don't need as much force as with MAS Terrain to get everything into place.
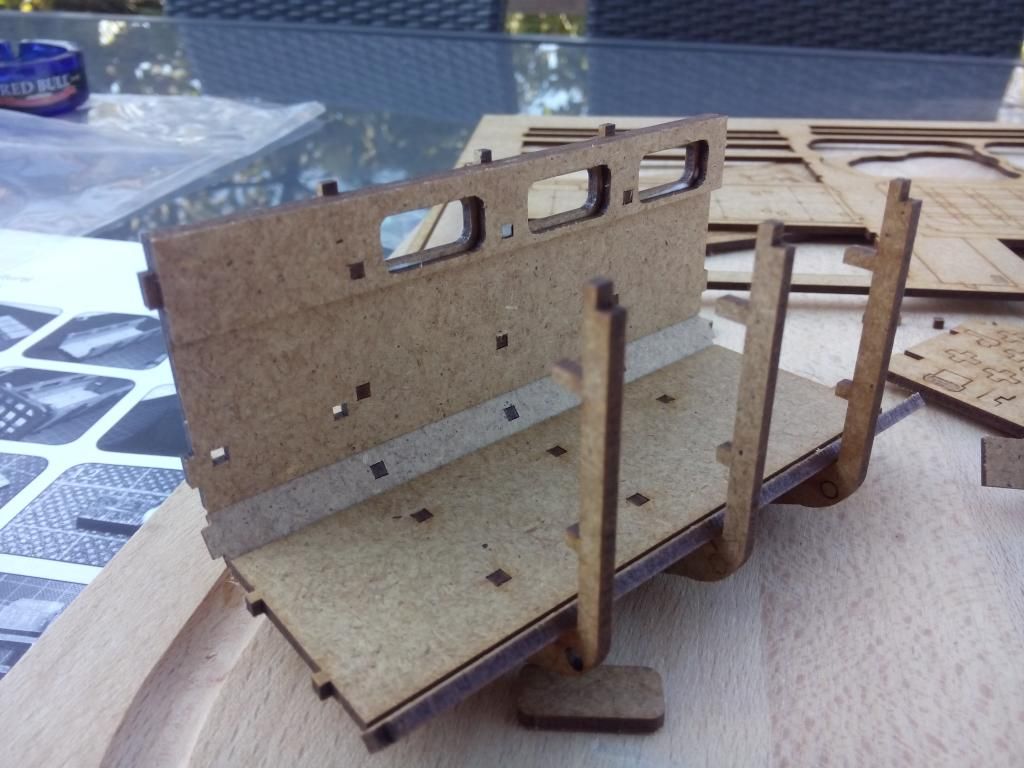
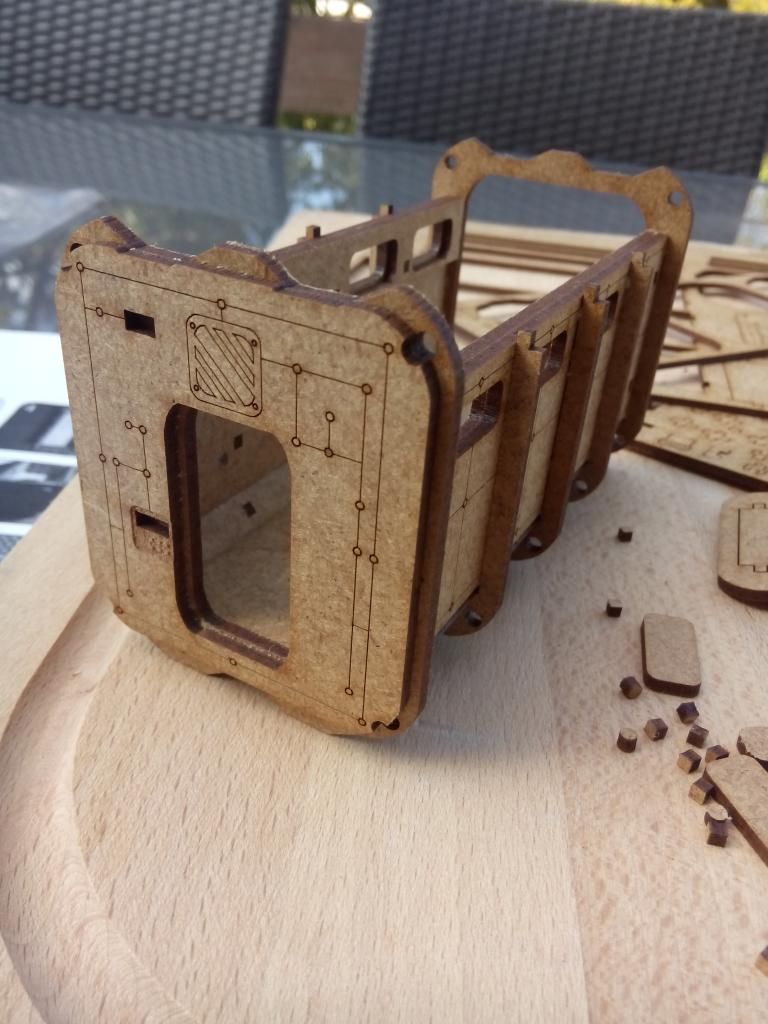
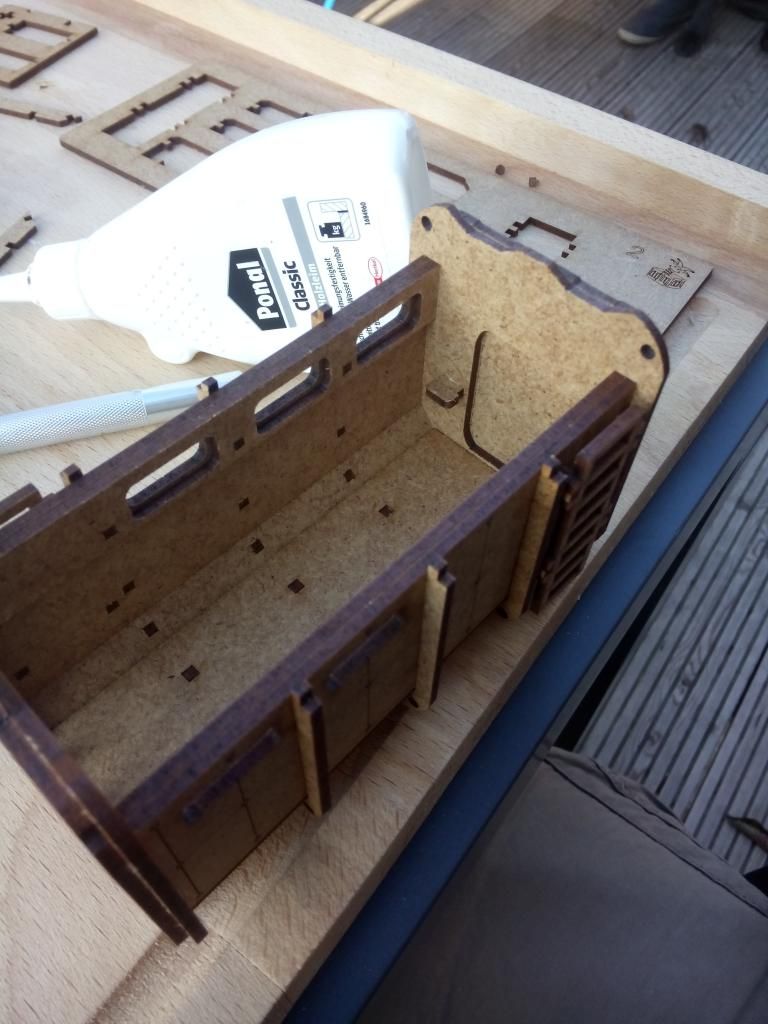
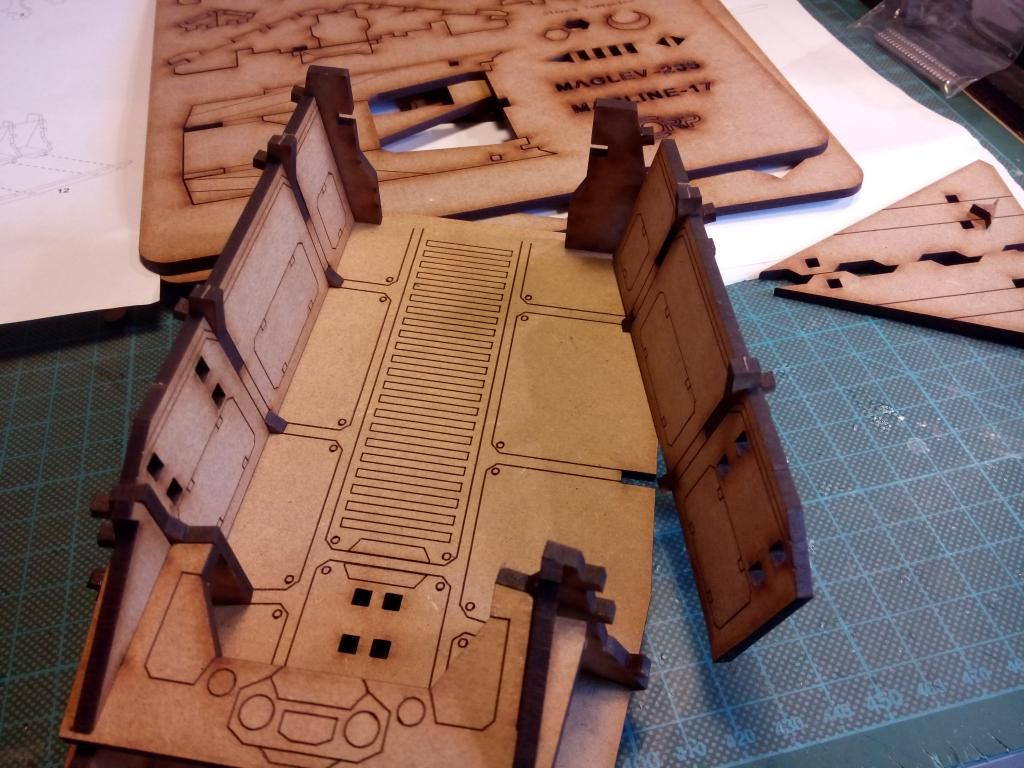
Fragile as it may appear during the first steps of assembly, the container get sturdier and sturdier the more progress you make. After the "skeleton" has been fleshed out, you feel like having a plastic rhino in front of you.
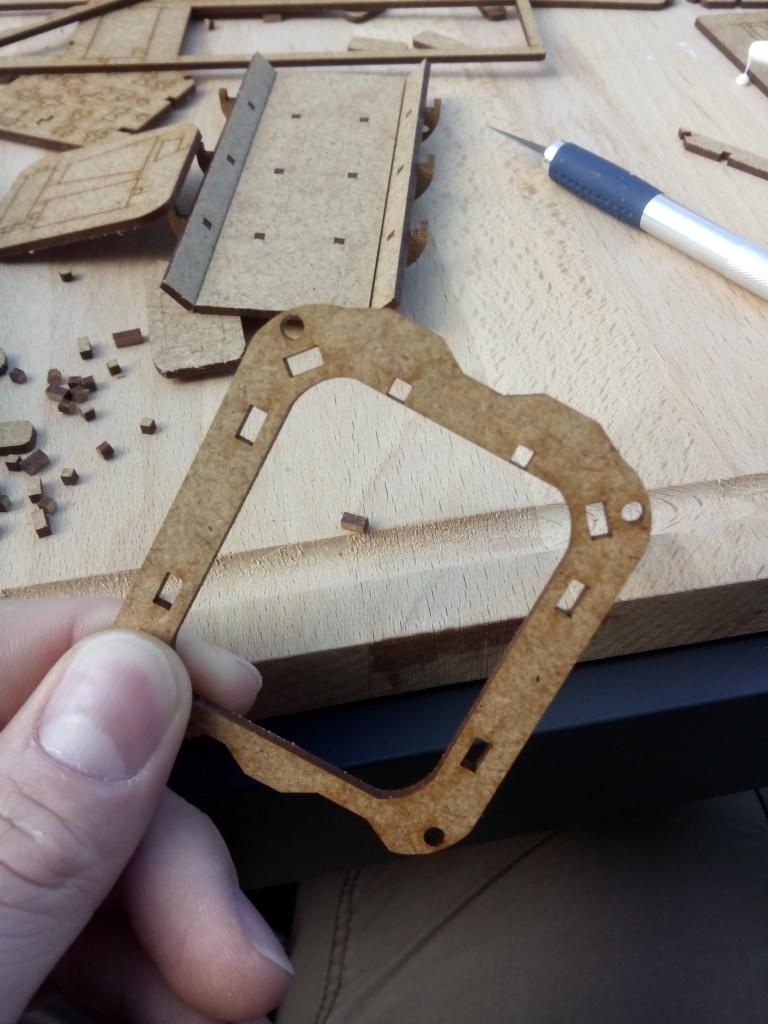
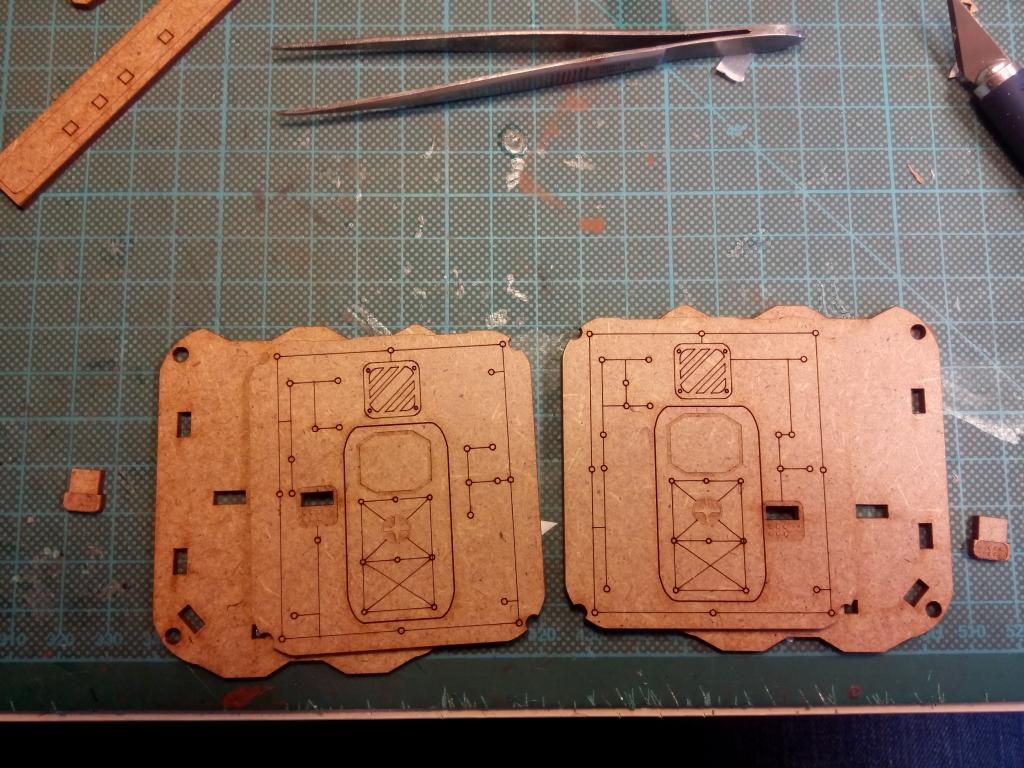
Another surprising thing you realise during assembly is the clever combination of the laser-burned in lines and the engraved details, easy to spot at the roof-piece:
Two things can be spotted in this picture:
1. The clever design. As the guys explained, they wanted to have no construction "squares" visible on the outside of the container. Therefore they disappear within this piece.
2. When you look at the round holes, you can see how thin MDF can be. I tested it... it still hold a surprising amount of pressure.
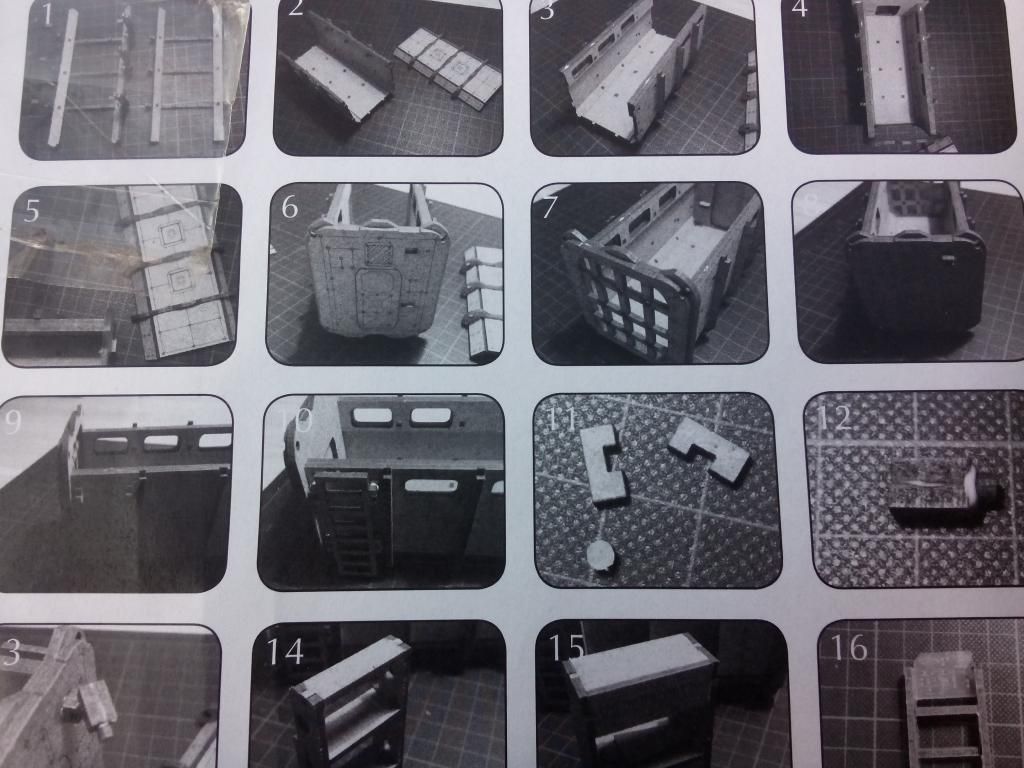
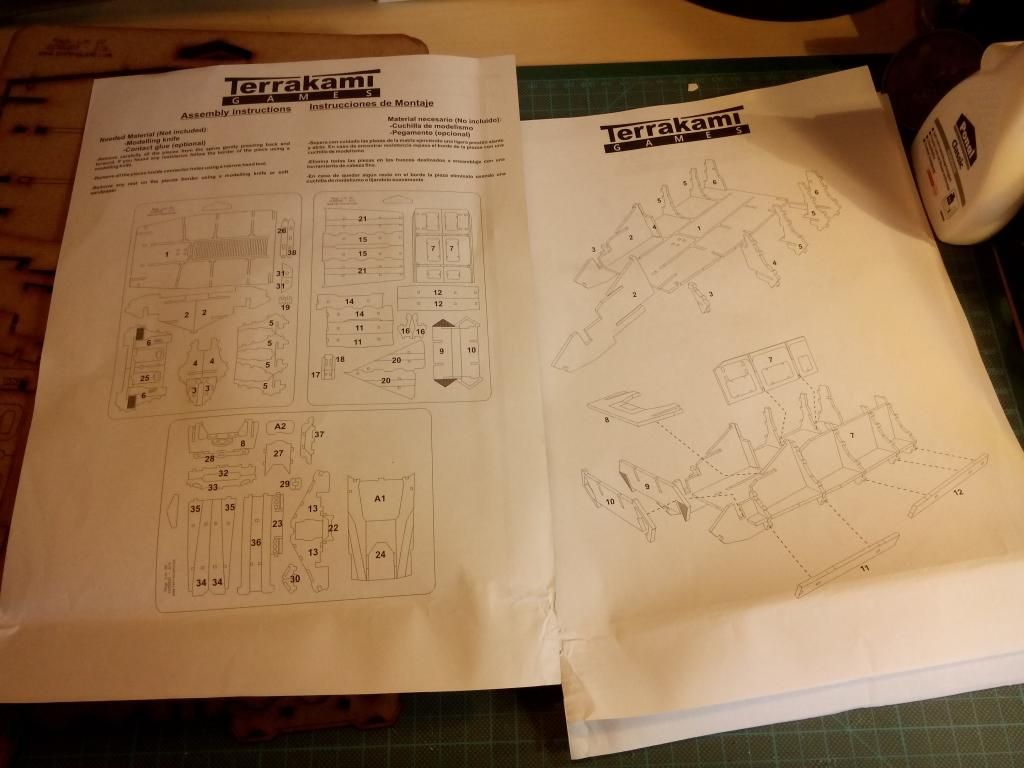
After the main piece has been assembled, the small details where next. Sadly the assembly aid is rather cryptic in this regard.
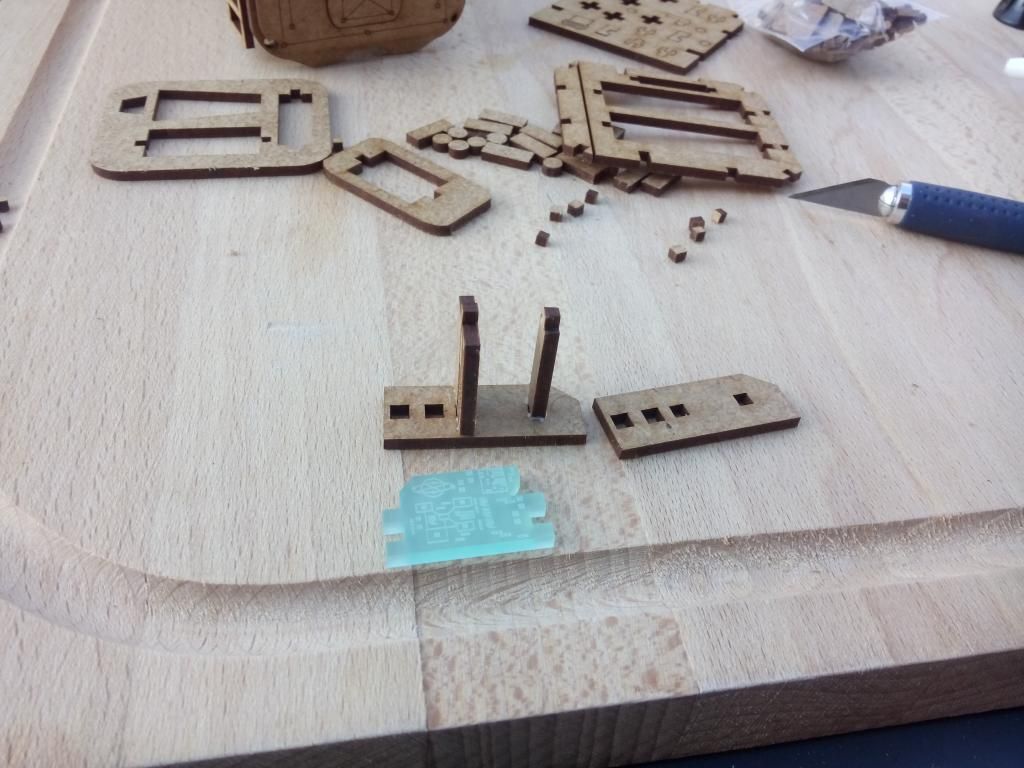
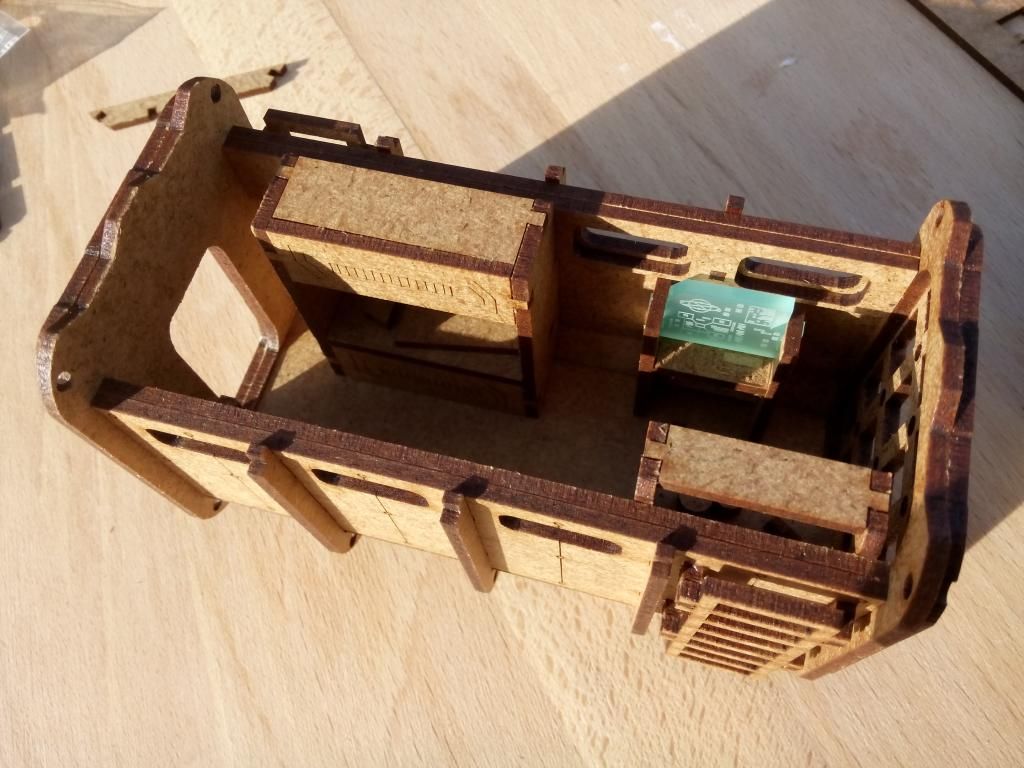
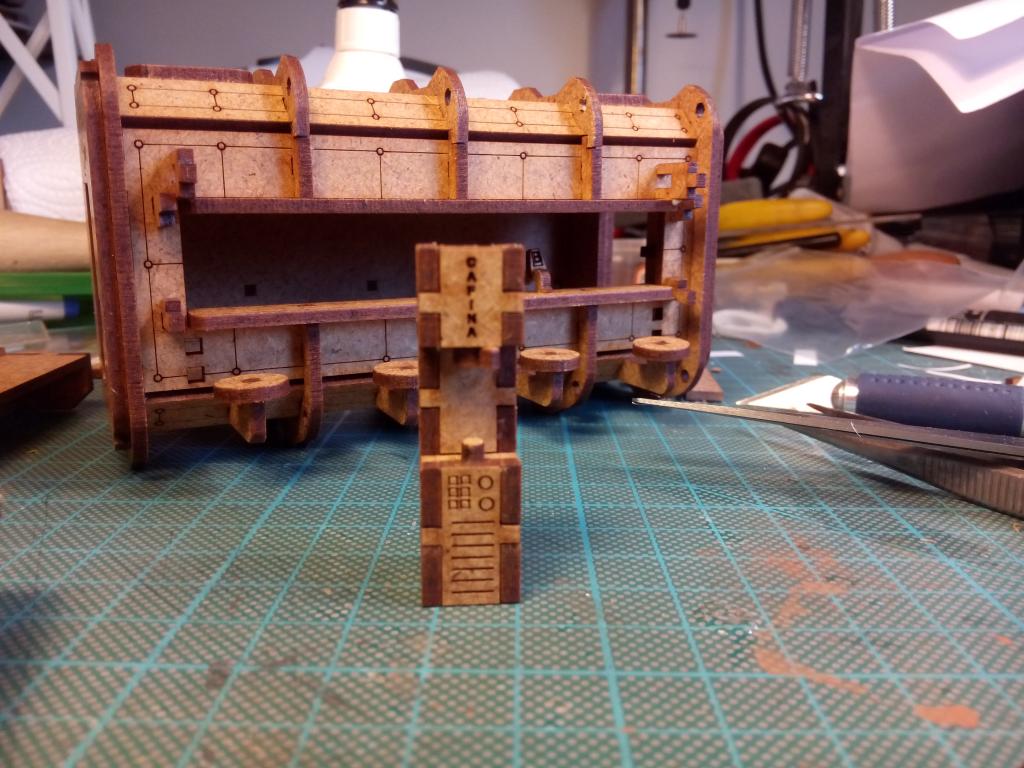
The computer terminal is next to the bed the thing that differ the Living Unit Small from the ordinary Cargo Container. Here you have to keep the further progress in mind and just glue one side into place. Otherwise you will have to mask the acrylic piece before painting the desk itself.
Here are some shots of the fine details worked into this design. Notice the small door-computer thingy. And the omni-present cctv, that just screams for rules like "don't use concilium banned weapons in this area... or else..."
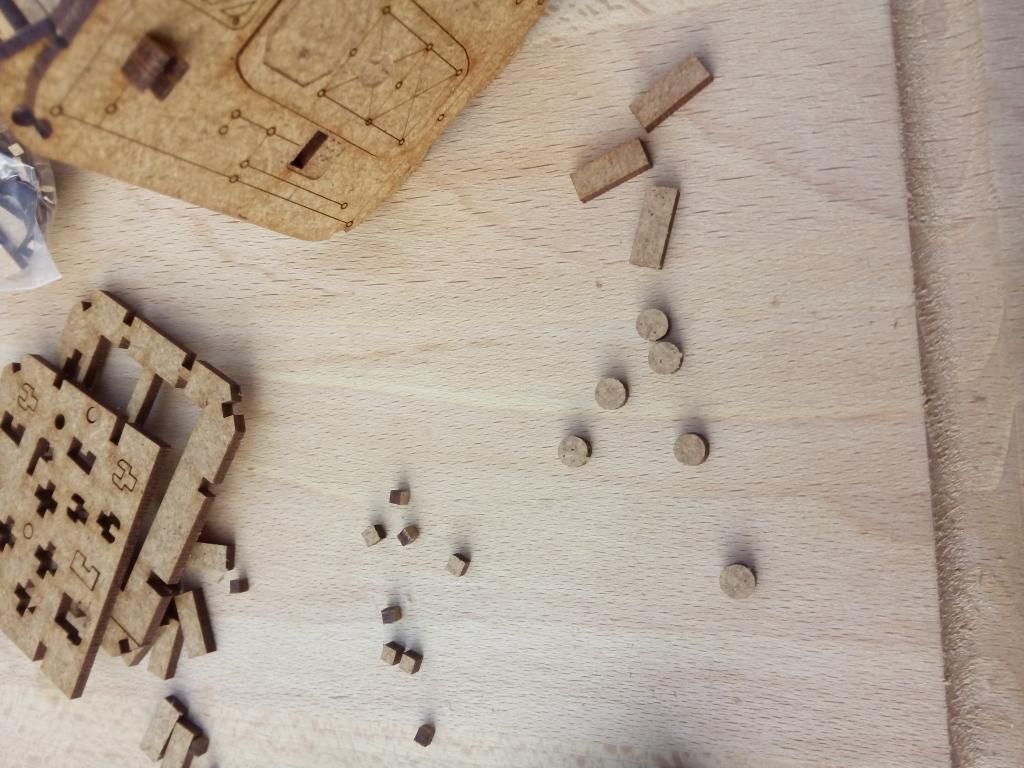
One of the things I really like about this kit are the left-overs. I know, once you have build a MAS building you fell like you can throw people to death with small cubic MDF pieces. But as you can see in the picture, here you are provided with lots of different sizes and shapes. And what is that good for? I hear you ask.
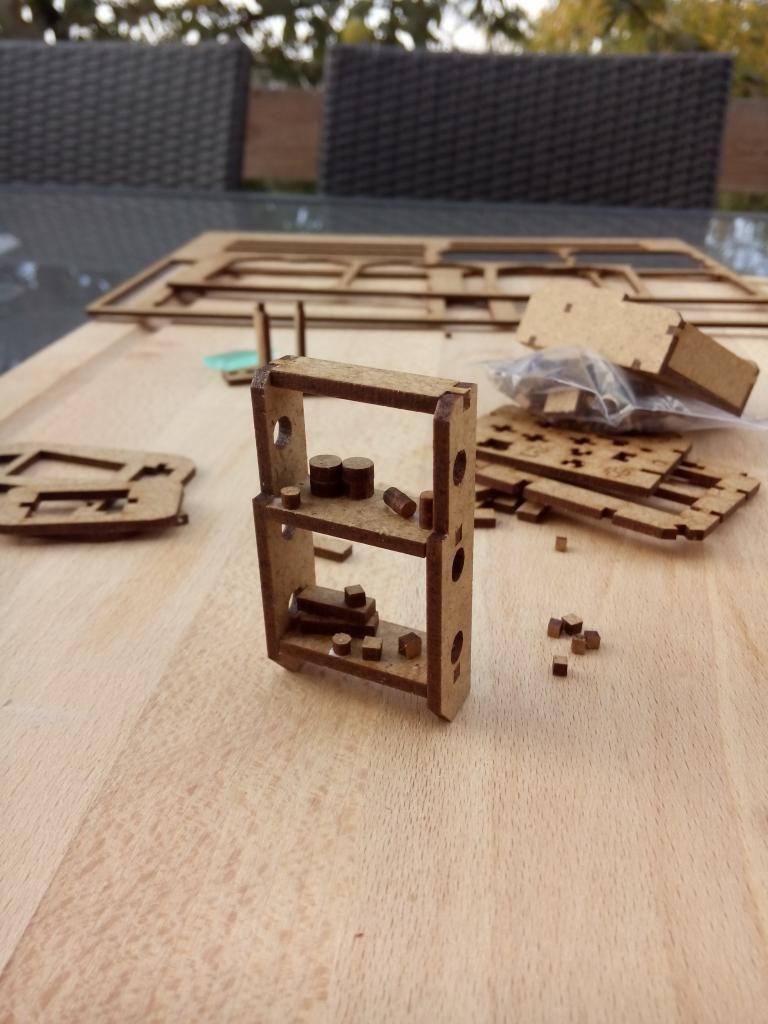
Well, rather easy, you have already stuff you can put into the rack that comes with the container. Just a lick of paint and these can be boxes of food, cans, ammo...
Conclusion:
I love containers. I can't really tell you why or what they trigger in my psych, but excessive hunts on ebay for AT-43 containers are mute witnesses to this obsession. Therefore I just have to love these.
But...
(and here comes the proof that I am not bought by Laughing Jack)
... there are a few "buts" when it comes to the assembly (in order as I see them most important):
1. Maybe it is because I am a teacher myself, but I feel no big love for the assembly aid. The kit is not as self explaining as the assembly suggests and there have been quite a few time that I was stuck or had to remove a piece because I realised it was in the wrong place (especially unfortunate because you have to use glue). I don't consider myself a veteran in MDF-kits, but I think I know my way round with them. Yet, I would highly welcome a more detailed and sophisticated assembly aid.
2. I really dig the concept of having no visible connection points on the containers outside. Yet the plates with the door and the large window (which go on each short side of the container) need some sort fitting, so you know where they are supposed to go exactly.
3. The computer screen could use a mounting that would enable a complete build of the desk (so it can be painted) with the ability to mount the screen after everything has paint on it.
4. I think the combination of engraving and lasering the details is awesome, but I think the keyboards would profit from a laser line, since the engraving leaves little that can be painted as keys without them looking like they belong to an old typewriter.
All in all the kit, once you have mastered its assembly, provides you with a pretty awesome container consisting of pieces that fit perfectly into each other. No pressing, no sanding, just few dots of glue and you get this box, that comes with a clever roof concept and some pretty cool indoor stuff.
Considering all this..
Price:
Well... here goes the hardest category. For a small business that is still on its way and producing in Germany, I think the tradeshow prices quite acceptable. The price difference between the ordinary cargo container and the Living Unit is quite good considering that you get instead of another rack a bed and a computer terminal that could easily fit into other buildings as well.
But when I think of filling a table with just containers in their various shapes and layouts (they have different sizes and shapes... make sure you have seen them as well!) over 10€ per ordinary cargo container seems quite a lot, especially when you compare them with other terrain.
So, for the price tag:
General Conclusion:
When we look at all the above, I think with a few fixes Laughing Jack could provide the gaming community with a fantastic product. Some helps for the assembly and a fix on the tradeshow prices and there you go.
Who should buy this product? Everybody that loves to add some great and detailed scenery to their table.
Would I recommend buying this product to my best-nerd-friend? Sure I would do. And probably buy even more while he is ordering.
This company is still small and in development, so I hope my points are taken as the friendly piece of it advise as it is meant to be!
Oh and while we are talking about advices: Guys! Make a MDF-Interior Set with your racks and beds. I have way to little interior in my buildings. I guess it would be a small effort for you, since you have already the layout, but I would the first to rip it off your hands!
People, if you feel like adding some stuff to your tables and helping a little company, go and get yourself some containers. You know, you want to!
I hope you have enjoyed this Review. If you have thoughts you would like to share, please leave them in the comments!
See you!
P.S.:
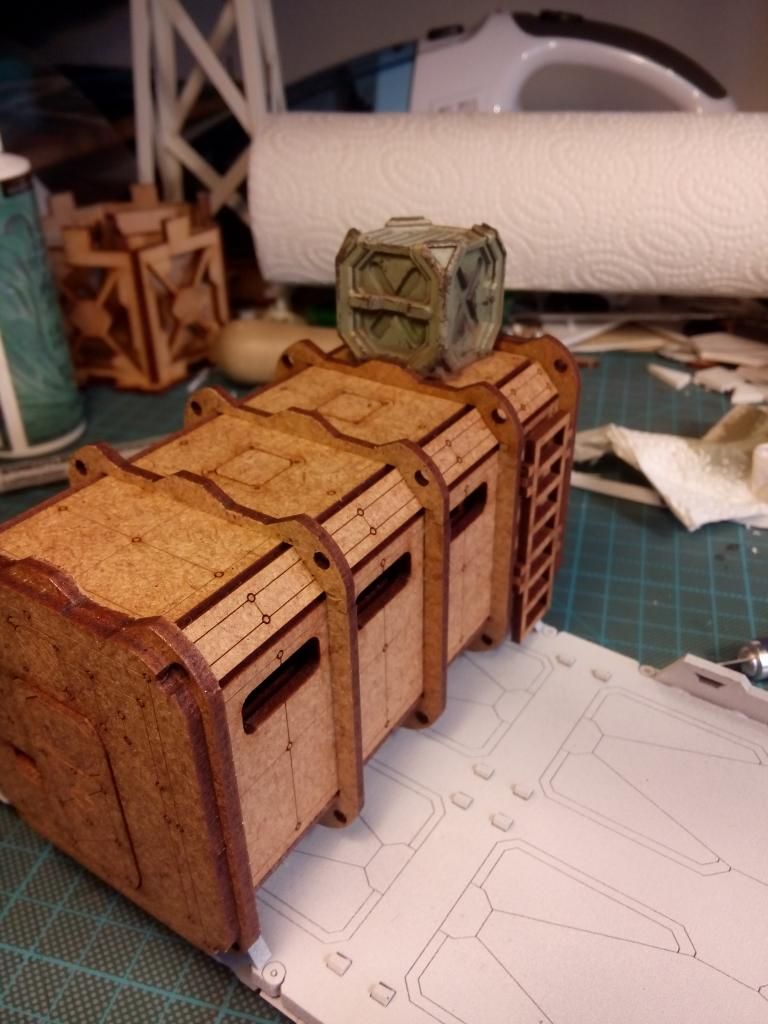
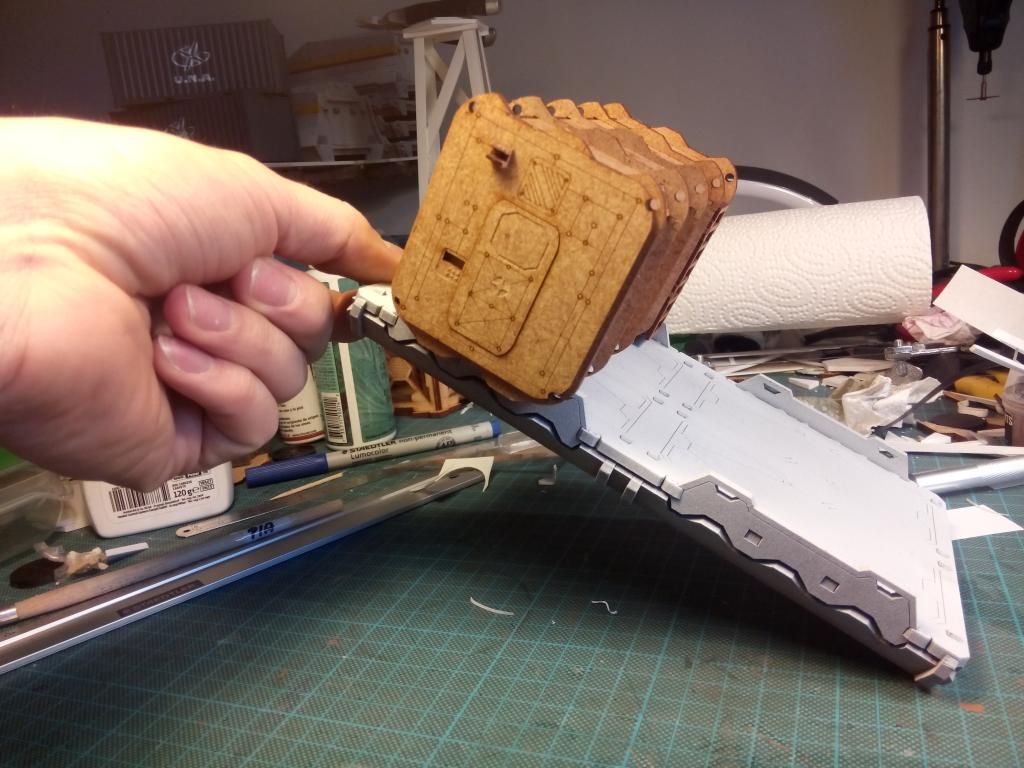
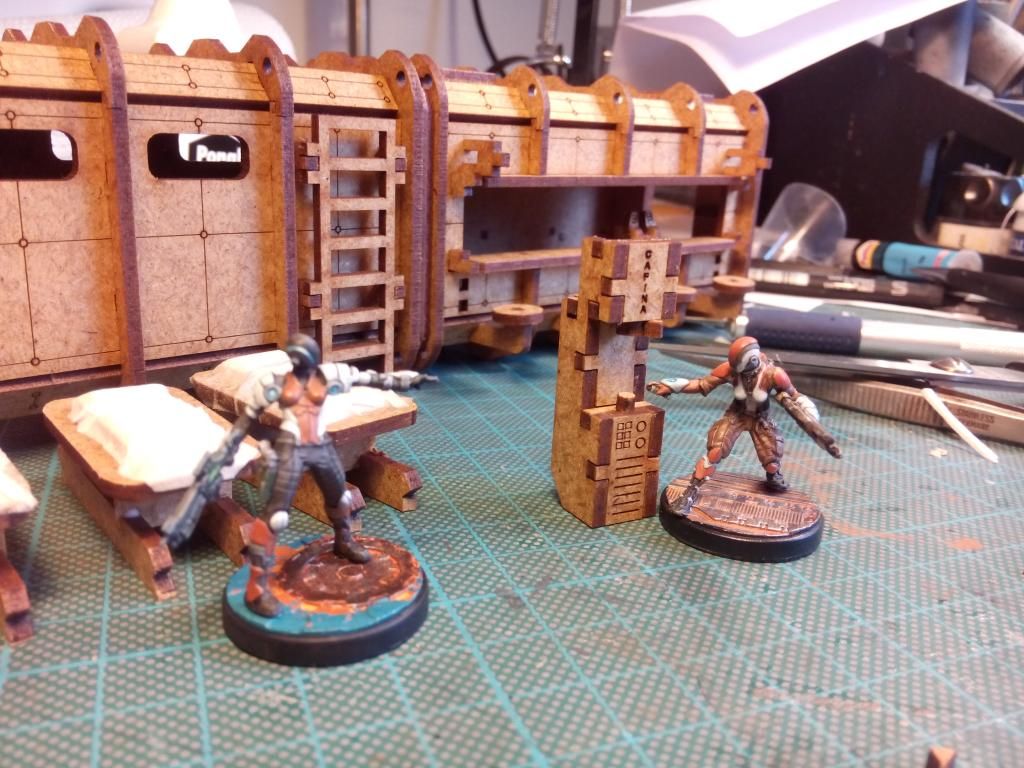
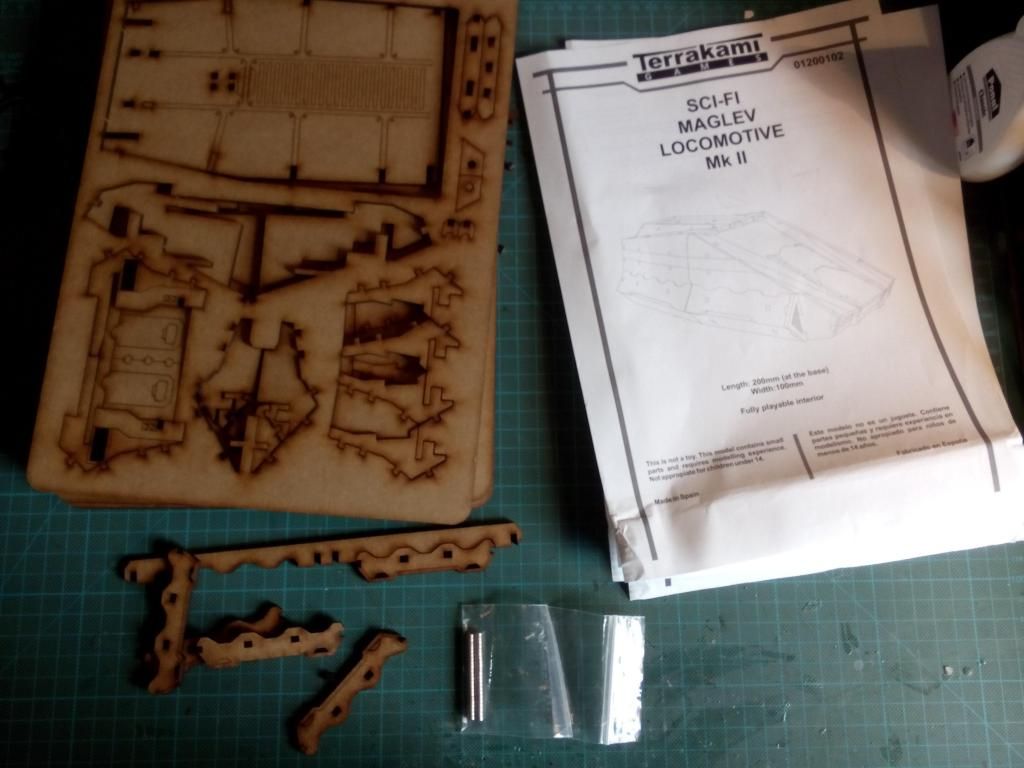
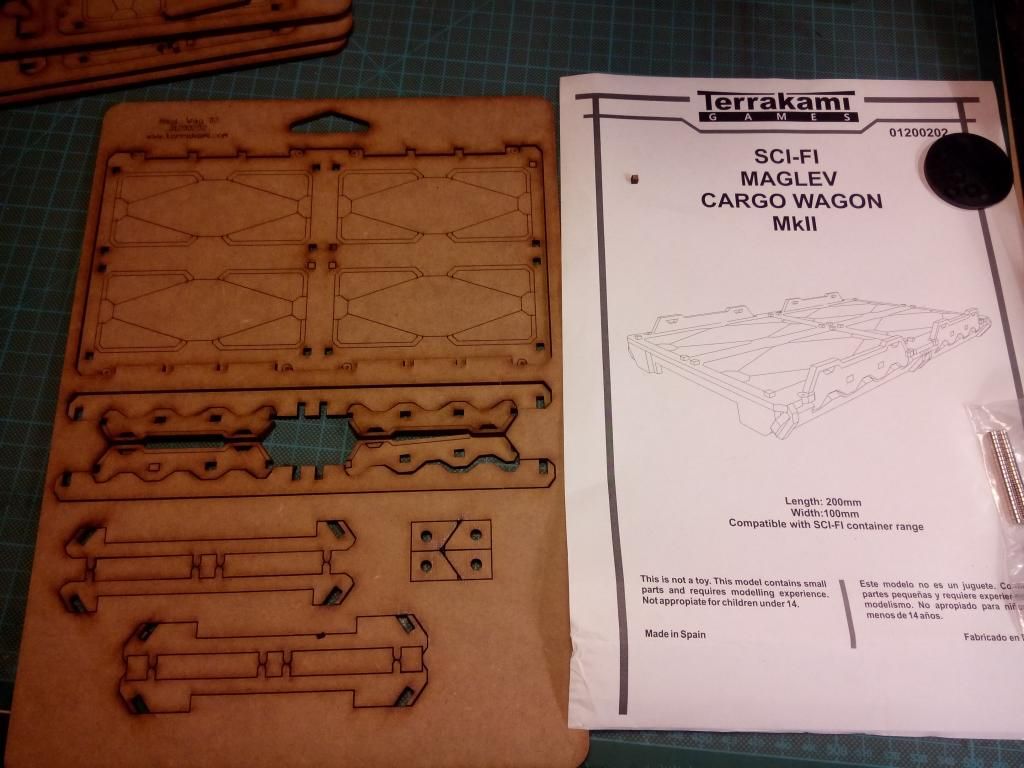
As an after thought... I put the container onto the MagLev I recently build. Works perfect.
And some Spartan Games boxes fit on the roof as if they were made for that...
Second thoughts:
Well, I had a bit of time to think about Laughing Jacks Products. especially since I have build a couple of more buildings since my first.
This brings me to add, correct and revise a couple of things:
1. I complained about the side panels. I was missing some way of bringing the frame and the door piece together. There is already a way, but I was to dumb to see that...
the small computer terminals go right through both panels and give the needed fix point.
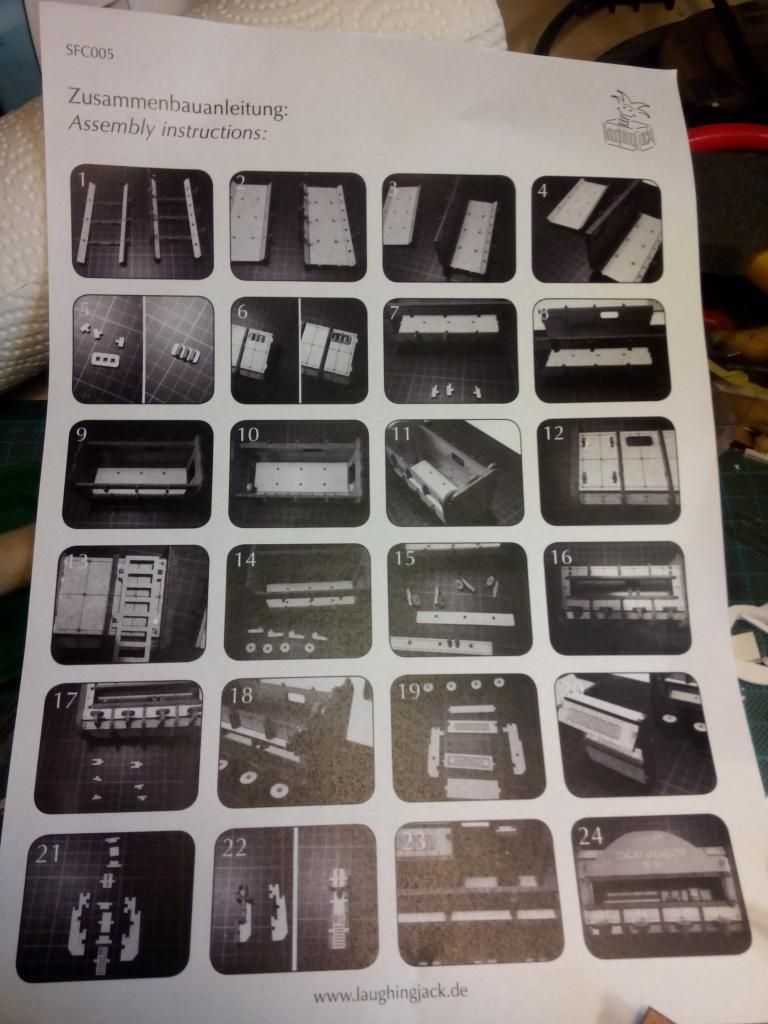
2. The rather cryptical assembly aid has already been up dated with newer products. Here a shot from the food booth container
As you can see, it is already more sophisticated. Not perfect... but way to go. Laughing Jack has already assured that these will get better and get additional assembly aids on their website for download.
3. Talking about details. Have a look at this AWESOME coffee maker!
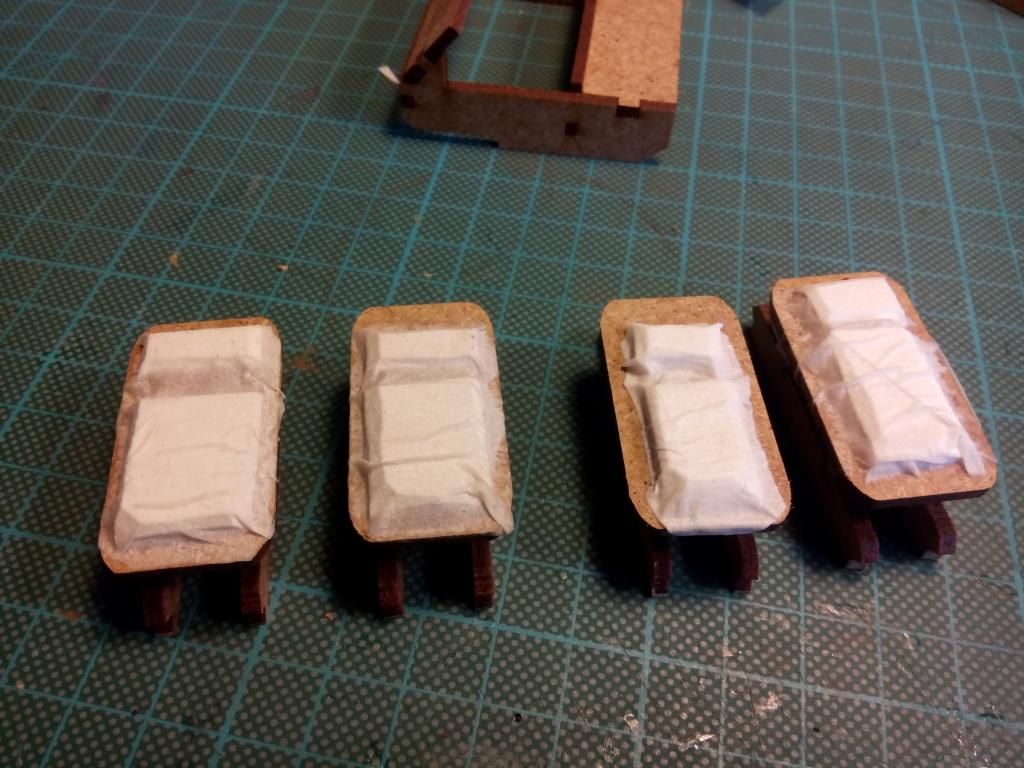
4. The random bits and left overs from the frames are really inspiring. With a little imagination you can easily turn them into fun things. I am proud owner of a couple of beds... with little efford.